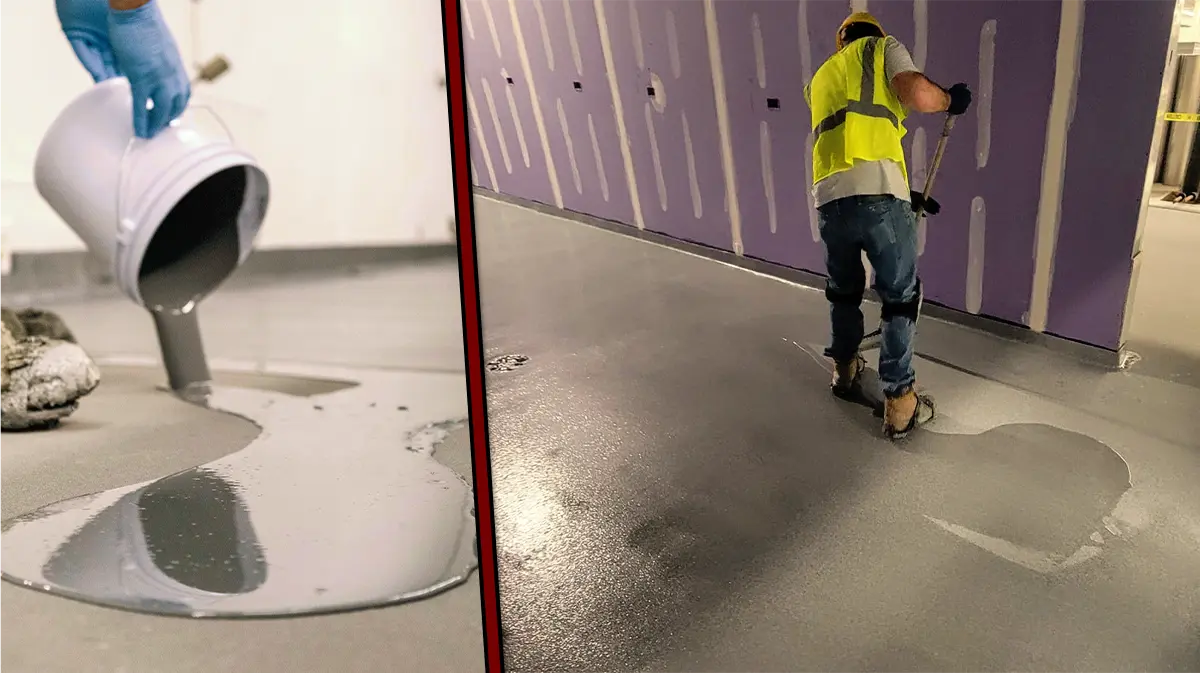
Epoxy coatings: tough, long-lasting, and ready to stand up to whatever New York throws at it. But let’s be clear—getting that flawless epoxy floor starts long before the installation. It all begins with the mix. Specifically, the epoxy blending technique.
Epoxy Blending Technique: Why the Mix Matters
Epoxy is more than just some floor coating—it’s the foundation of a durable, stylish surface. Epoxy coatings come in two parts: Part A, which is the resin, and Part B, the activator. Mix them just right, and you get a chemical reaction that transforms a liquid into a rock-solid surface.
We sincerely believe that precision is everything. Whether you’re looking to epoxy your patio or setting up a home gym in your garage, the mix needs to be perfect. We’re talking about a balance that can handle the weight of New York life—because around here, we certainly don’t do things halfway.
Epoxy Blending Technique: Avoiding Common Slip-Ups
Time is money, and there’s no room for rookie mistakes. When it comes to mixing epoxy, here’s what you need to avoid:
- Trying to Guess the Ratios: We get it, New Yorkers are known for winging it. But epoxy doesn’t work that way. You need to get the mix right. If you’re off by even a little, your floor won’t cut it. It’s all about balance. If there is too much resin or activator, your floor will fall apart faster than an undercooked slice of pizza.
- Using the Wrong Tools: Let’s be honest—nobody’s mixing epoxy with a spoon. It seems like it should go without saying, but here goes: Use the right tools for the job. A high-speed drill with the proper mixing blade ensures everything comes together smoothly. If not, you’ll get clumps and bubbles, and that’s just not how we do things.
- Combining Products: Mixing two different products is only going to lead to disaster. Trust us, we’ve done plenty of repairs on floors who suffered the results of less-than-professional installers. Stick to one epoxy product line. Keep it clean, organized, and focused.
Our Process: The New York Way
Here’s a quick overview of how we like to mix our floor coatings:
- Step 1: Mix Part A First: Just like any good prep, we start by giving Part A (the resin) a thorough mix, especially if it’s pigmented. No shortcuts, no streaks—just a smooth, even finish.
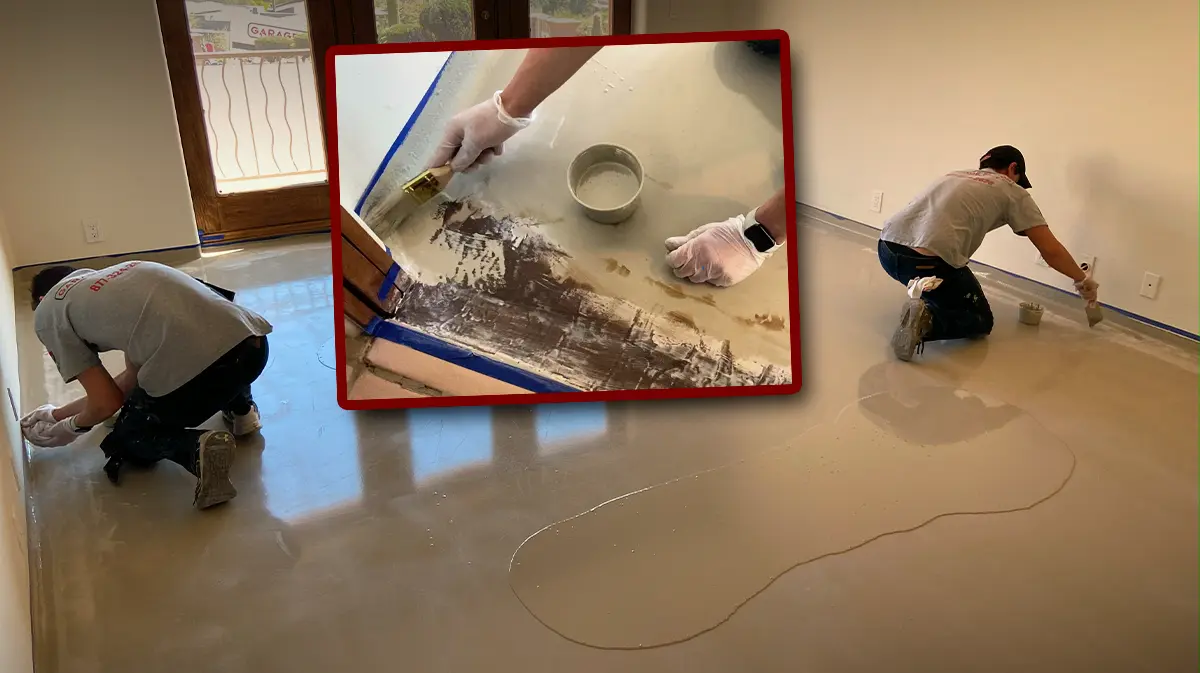
- Step 2: Add Part B with Care: Once Part A is ready, we slowly mix in Part B (the activator). We keep it steady to prevent bubbles from messing with the final look.
- Step 3: Consistency Is Key: If we’re using more than one container of Part A, we batch them together to make sure your floor’s texture and color are consistent—because we all know New Yorkers don’t settle for “almost right.”
Why New Yorkers Should Trust the Experts
The modern age is as fast-paced as it’s ever been, so our customers usually don’t have time for mistakes. Between harsh winters, humid summers, and everything in between, your epoxy floor has to be ready for anything. Trying to DIY? We’ve seen a lot of folks give it an honest effort only to see their work crack months later.
We know how to mix epoxy that holds up against New York weather and salt. We take care of everything, from the precision mix to the seamless application.
Epoxy That Stands the Test of Time
A good mix is the foundation of a floor that will stand strong, whether it’s the weight of your car, workout equipment, or whatever life throws at it.
You’re getting more than just a floor—you’re getting the best. We bring the expertise, the right tools, and a professional, hard working attitude. When we mix, we mix to perfection—no shortcuts, no excuses. So if you want an epoxy floor that’s tough and stylish, give us a call. We’ll get it done.

